Is there any provision to record video and how to use it in vDeisgner 1.0?
1 Like
Yes, it is available. Below is the documentation for the same.
This is a document for configuration of video recorder element in vDesigner.
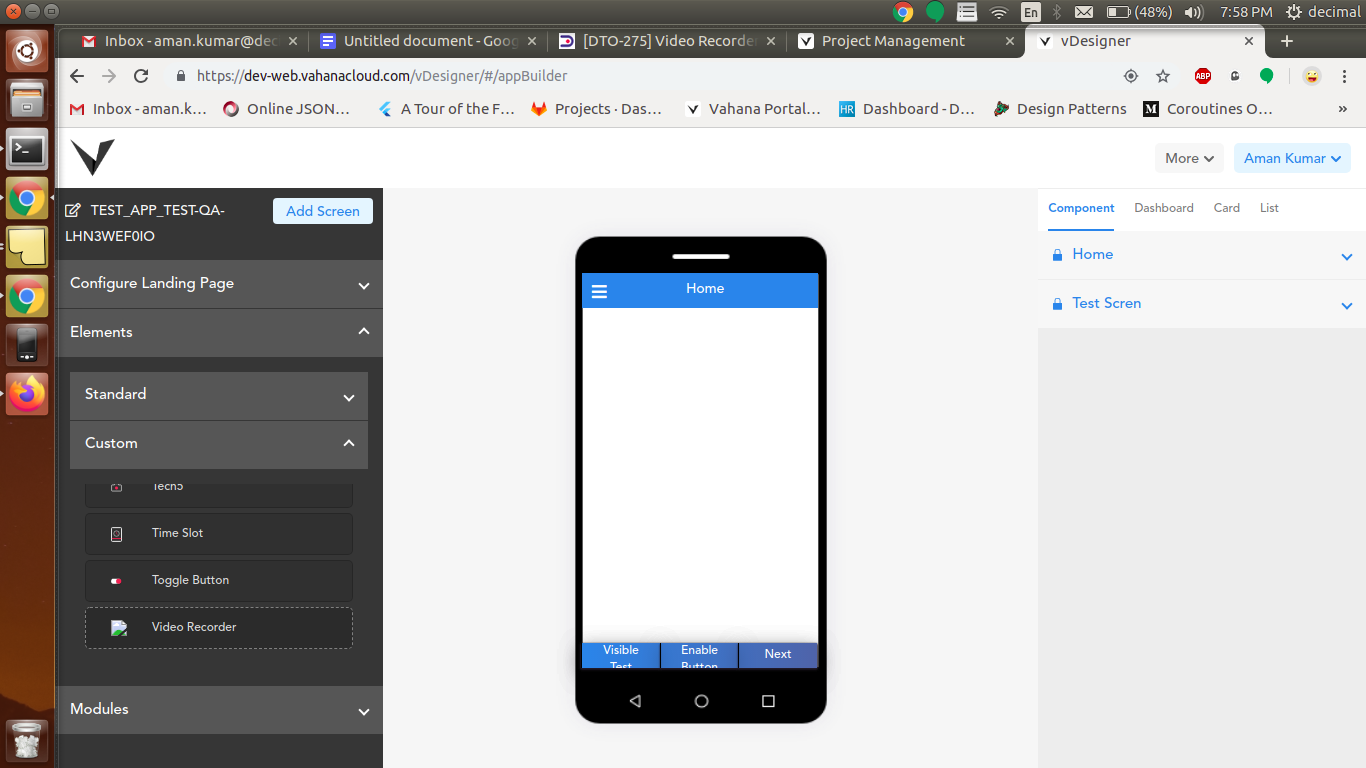
Video recorder element is found in custom elements.
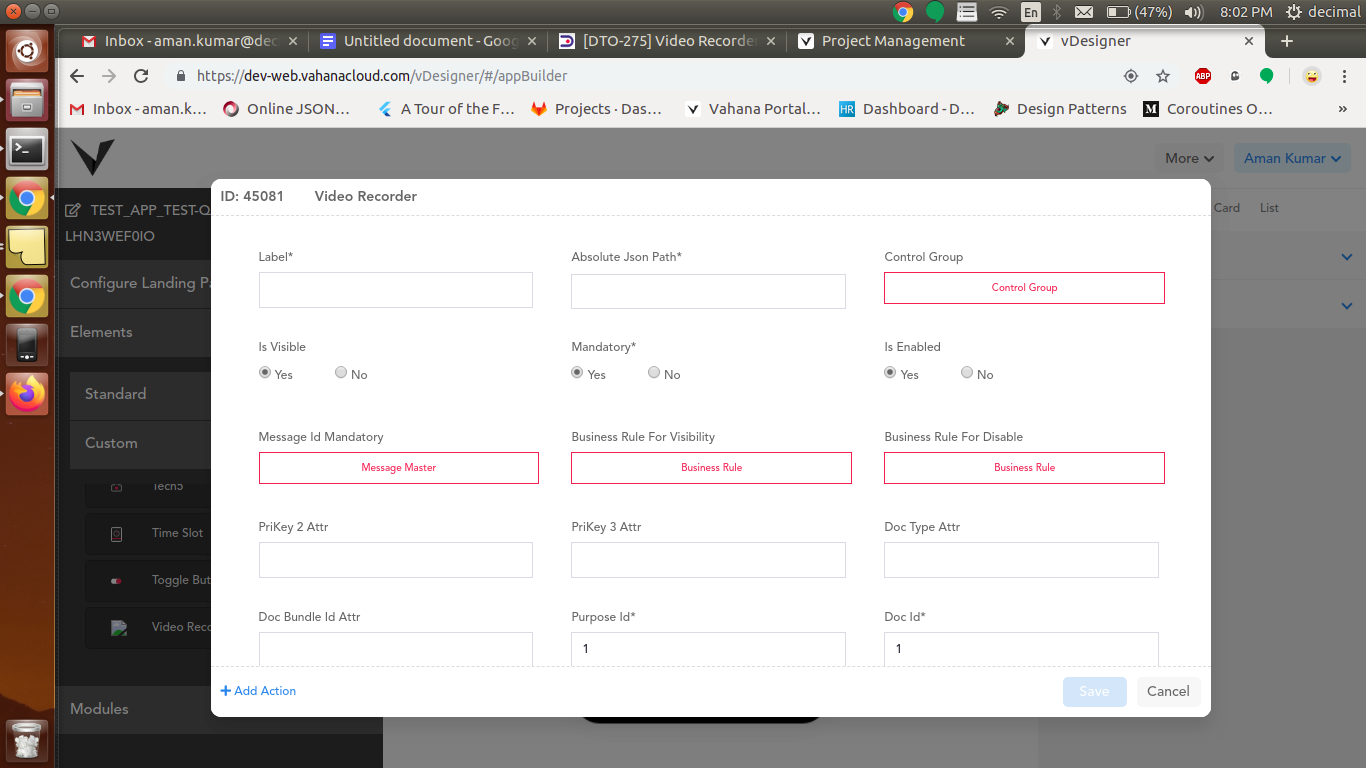
Configuration fields and their use.
- Label is the same as other controls.
- Absolute Json Path - You can enter path where video captured name is stored.
- Doc Bundle Attr Id - Used for document manager.Fill it if you use document manager.
- Video Destination- Only Document is supported.File Path is stored in db and you can use document manager to upload it to server.
- Min Duration(Seconds) - This is minimum video recording length in seconds. You won’t be able to save video if video is shorter than min duration.
- Max Duration(Seconds) - This is maximum video recording length in seconds. Video will be saved when this time is reached automatically.
- Enable Torch - This is a option to enable torch in your device if it have a flash.
On- Flash will always be on as soon as you are in camera screen.
Off- Flash will always be off as soon as you are in camera screen.
Both- An icon will show in the top right of screen . User can on/off torch by clicking it.
- Camera Facing - This is used for selecting front/rear camera
Front- If this option is selected, User can only choose the front camera.
Back- if this option is selected, User can only choose the back camera.
Both- An icon is shown in the bottom right of screen.User can switch the camera by clicking it.
- Enable Zoom- This option is used to enable disable zoom in camera. You can use pinch to zoom.
- Video Quality- This option defines the size and quality of your video capture.
Options and their size per minute.
-
Sd low -5.1mb/min, resolution 180*360
-
Sd High-12.8mb/min, resolution 360*640
-
Hd(720p)-25.8mb/min(not available on all devices), resolution 720*1280
-
Hd(1080p)-60 mb/min(not available on all devices), resolution 1080*1920
Steps for Capturing Video in Mobile
- Click on video recorder control.
- Click on the play button. which is in the center of the screen bottom.
- Video Will Start recording.
- Click on this button again to stop.You won’t be able to stop it if min time is not achieved.
- Timer color will be red if the timer is under minimum time, which is set on vDesigner configuration.
- If no minimum time is set or minimum time is reached you can stop the video.
- After that video is saved. And a gallery image is visible in the left bottom of the camera screen immediately.
- Click on it to preview the captured video.Video player screen is opened.
- Play the video by clicking on the play button in the video player screen.
- You can delete the saved video if you want.By clicking the delete icon on top of the video player screen.
- Press the back button and you will reach the video recorder screen.
- Press again and video will be saved in the app database.
- Click again to edit the saved data.

5 Likes
@tushar.jain How does it connect to the Database & store the data?
Also, in what format is the video data stored?
FYI @rahul.patel
3 Likes
@VivekBhardwaj : It will use the DMS to store the video and will save the reference id (document id) in JSON path in local database.
Currently it only supports MP4 format.
2 Likes