Features
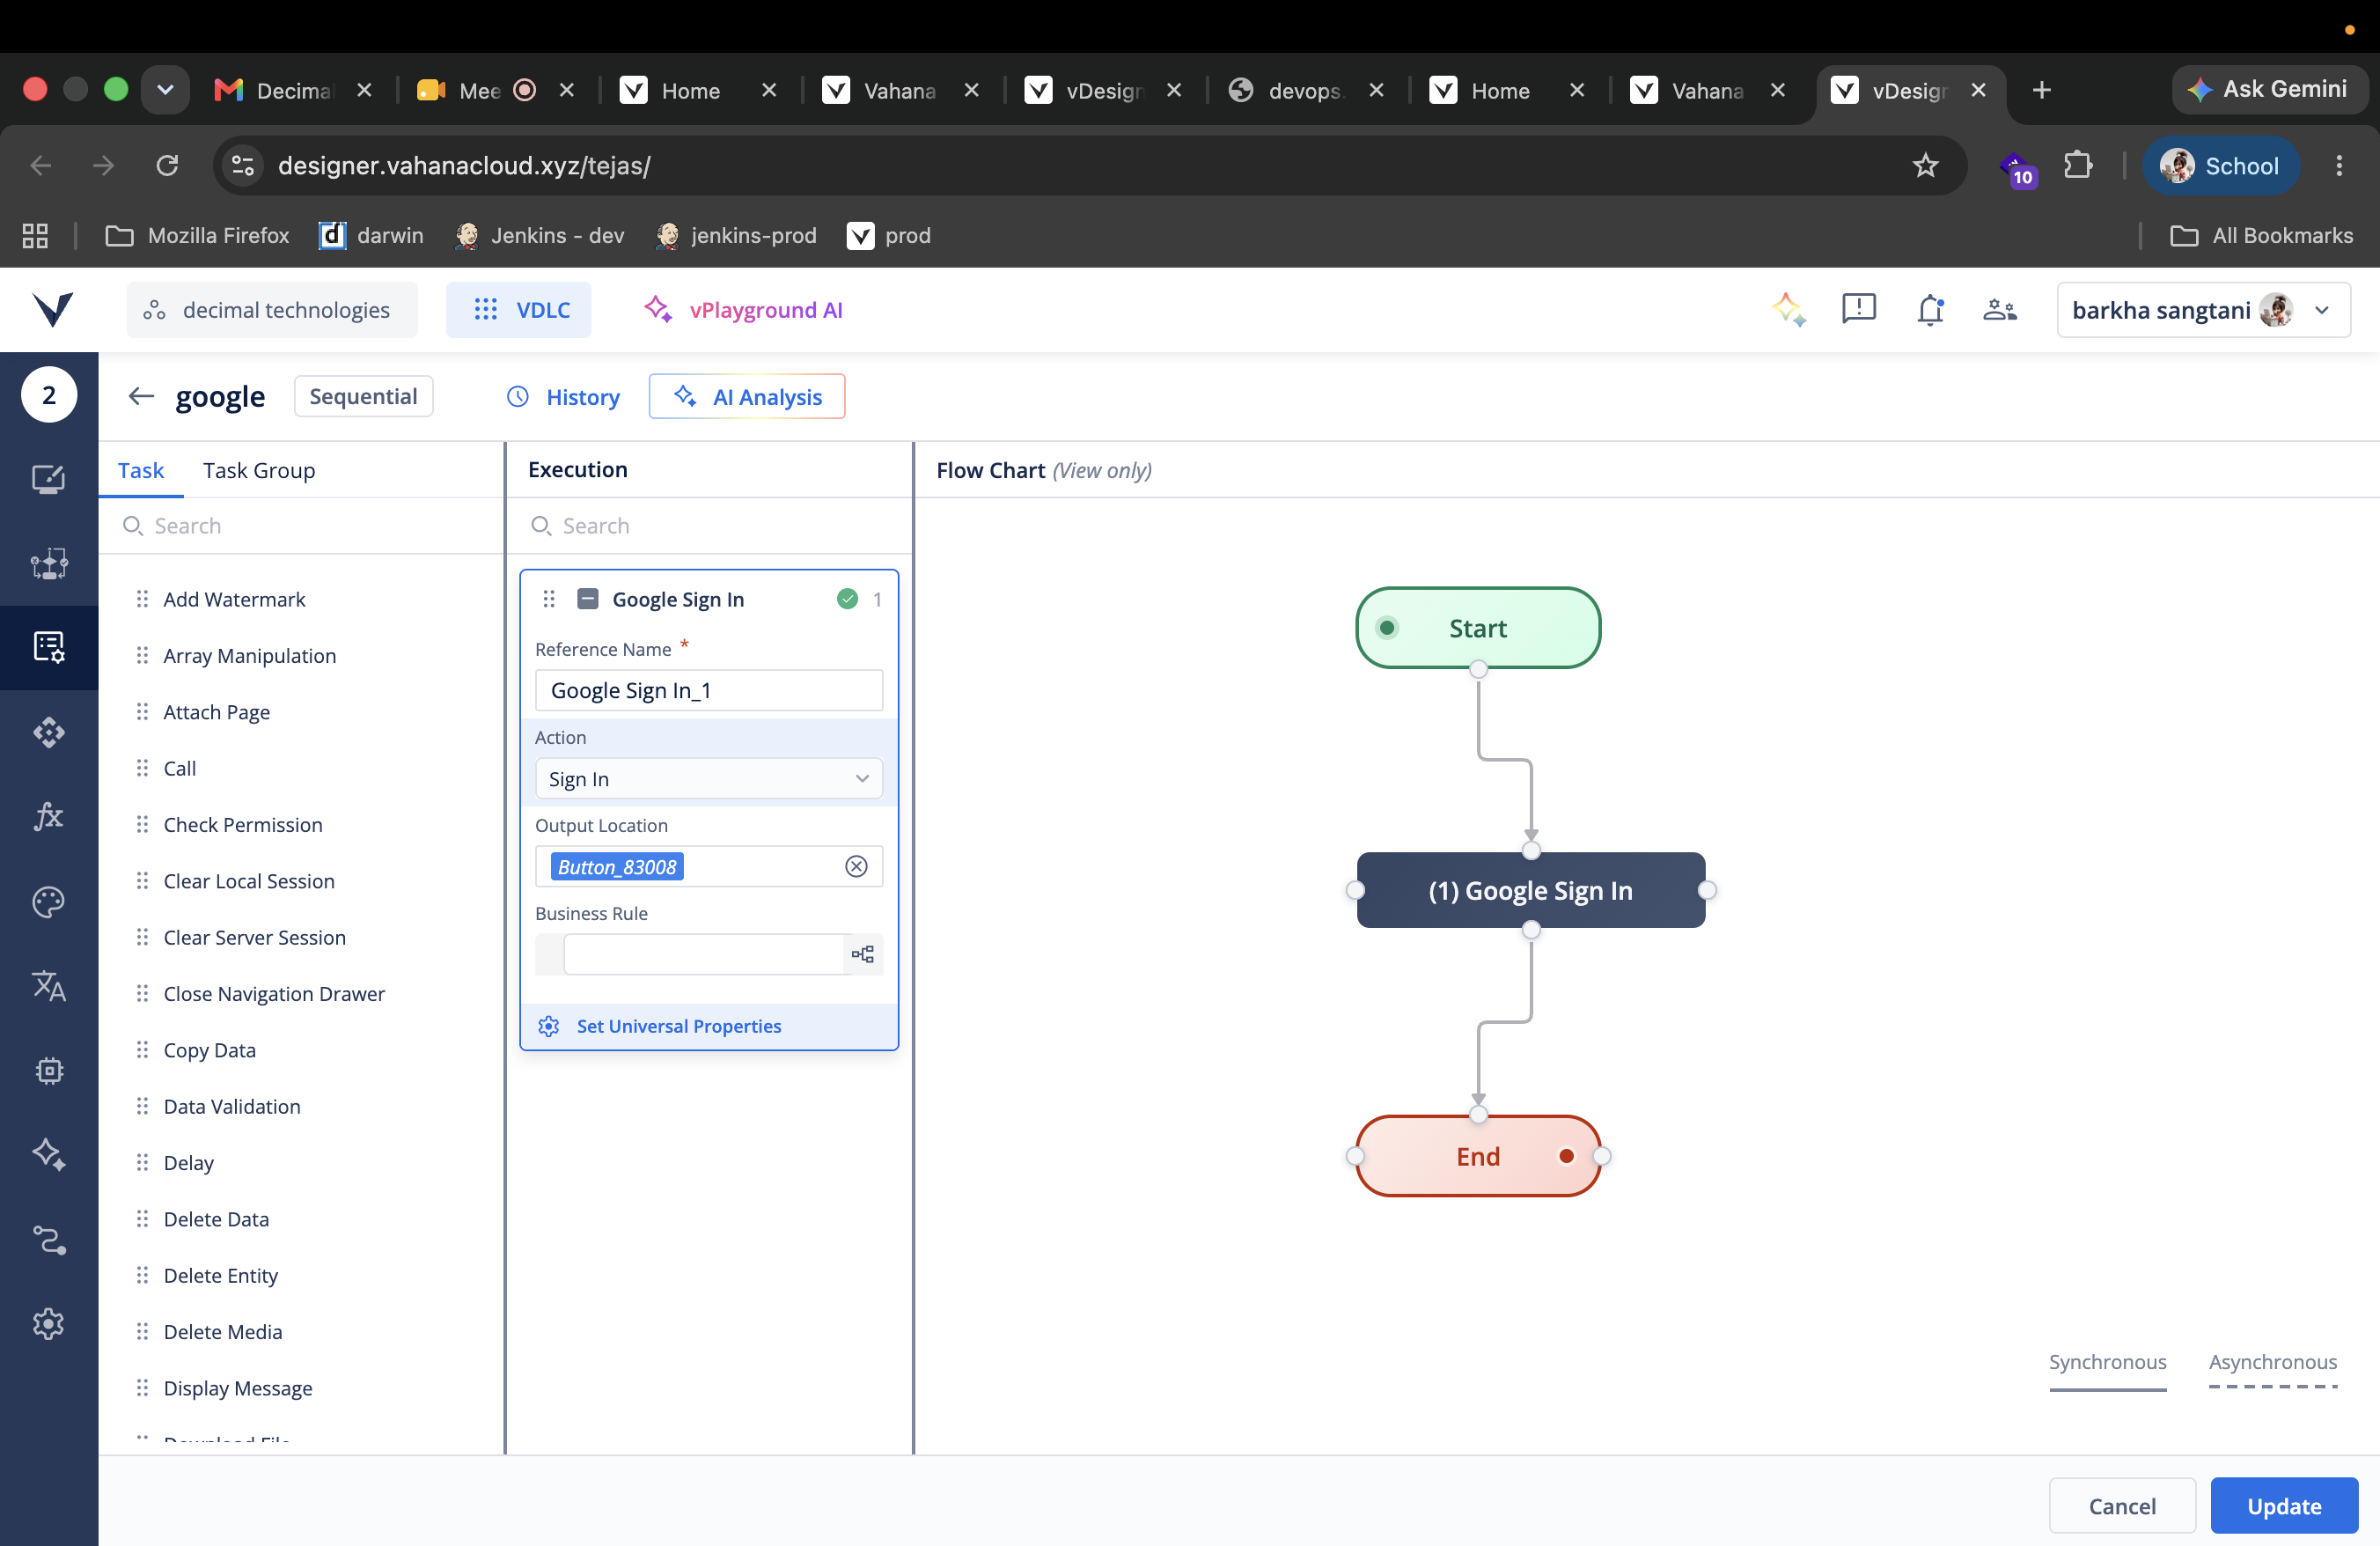
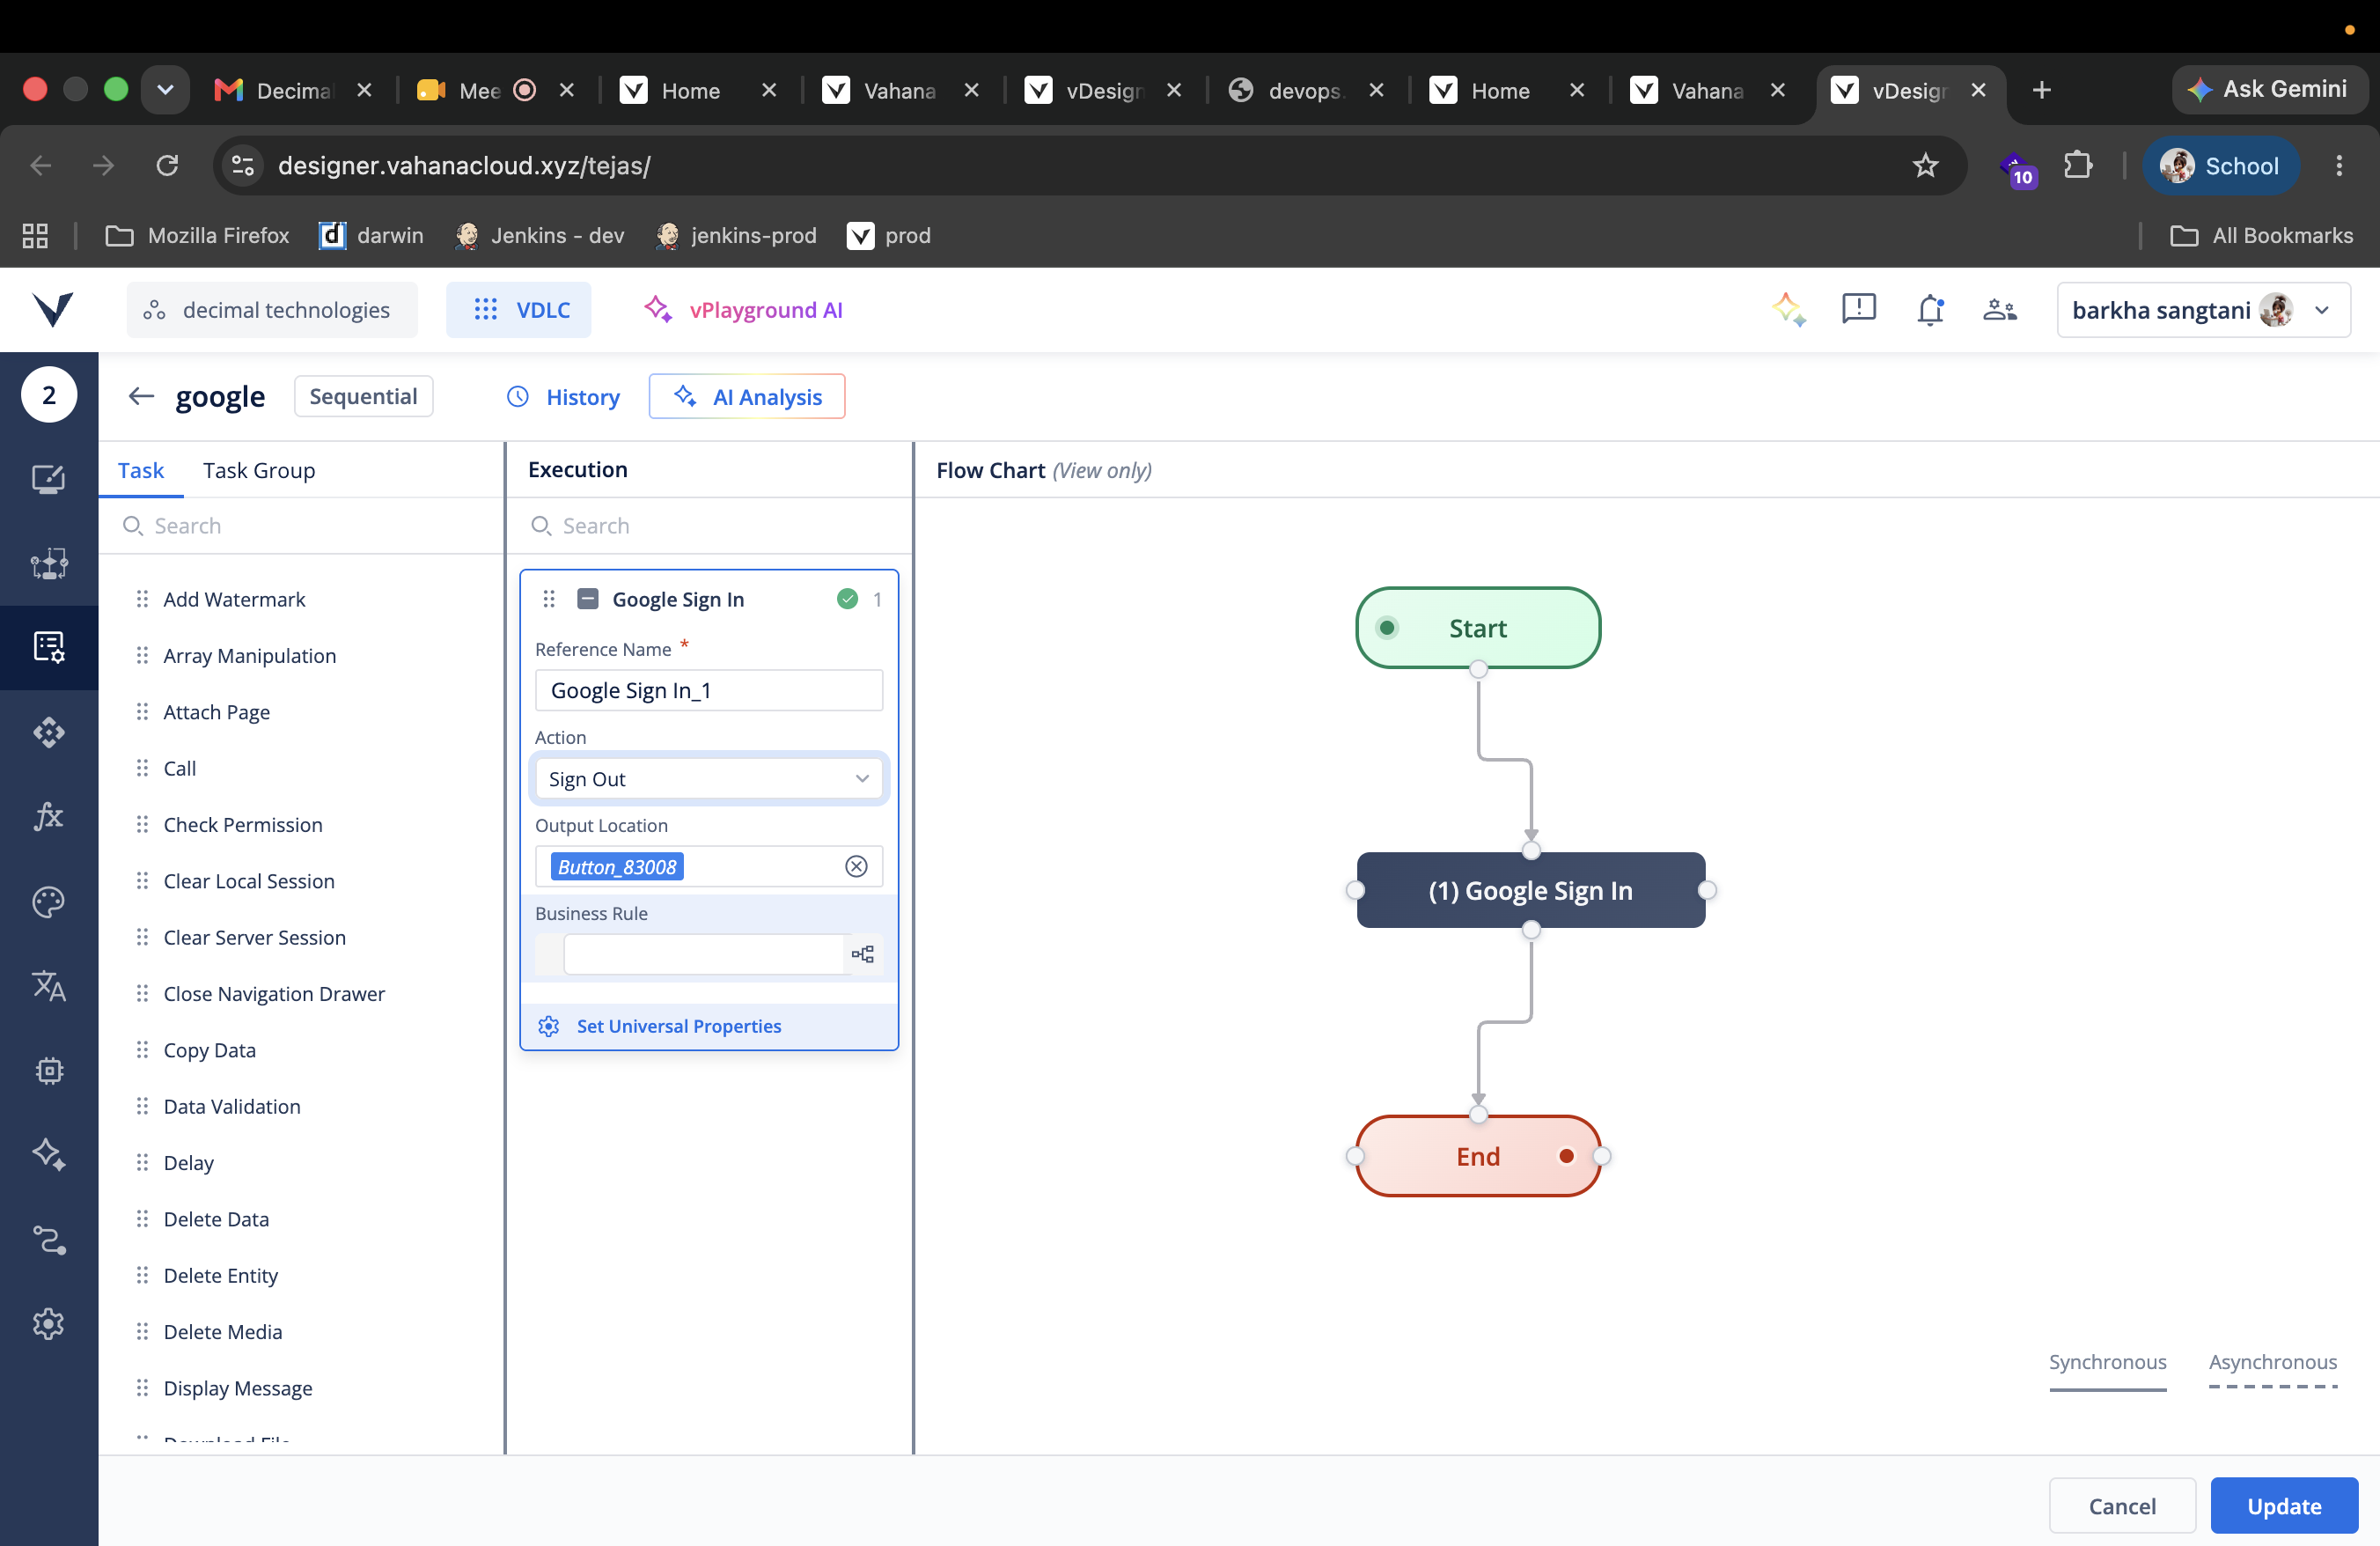
- Google SSO option in mobile device
- Change the name from Mobile First PWA to Native Mobile App in VDLC
- Java 21 Upgrade For Microservices
How to use Google SSO:
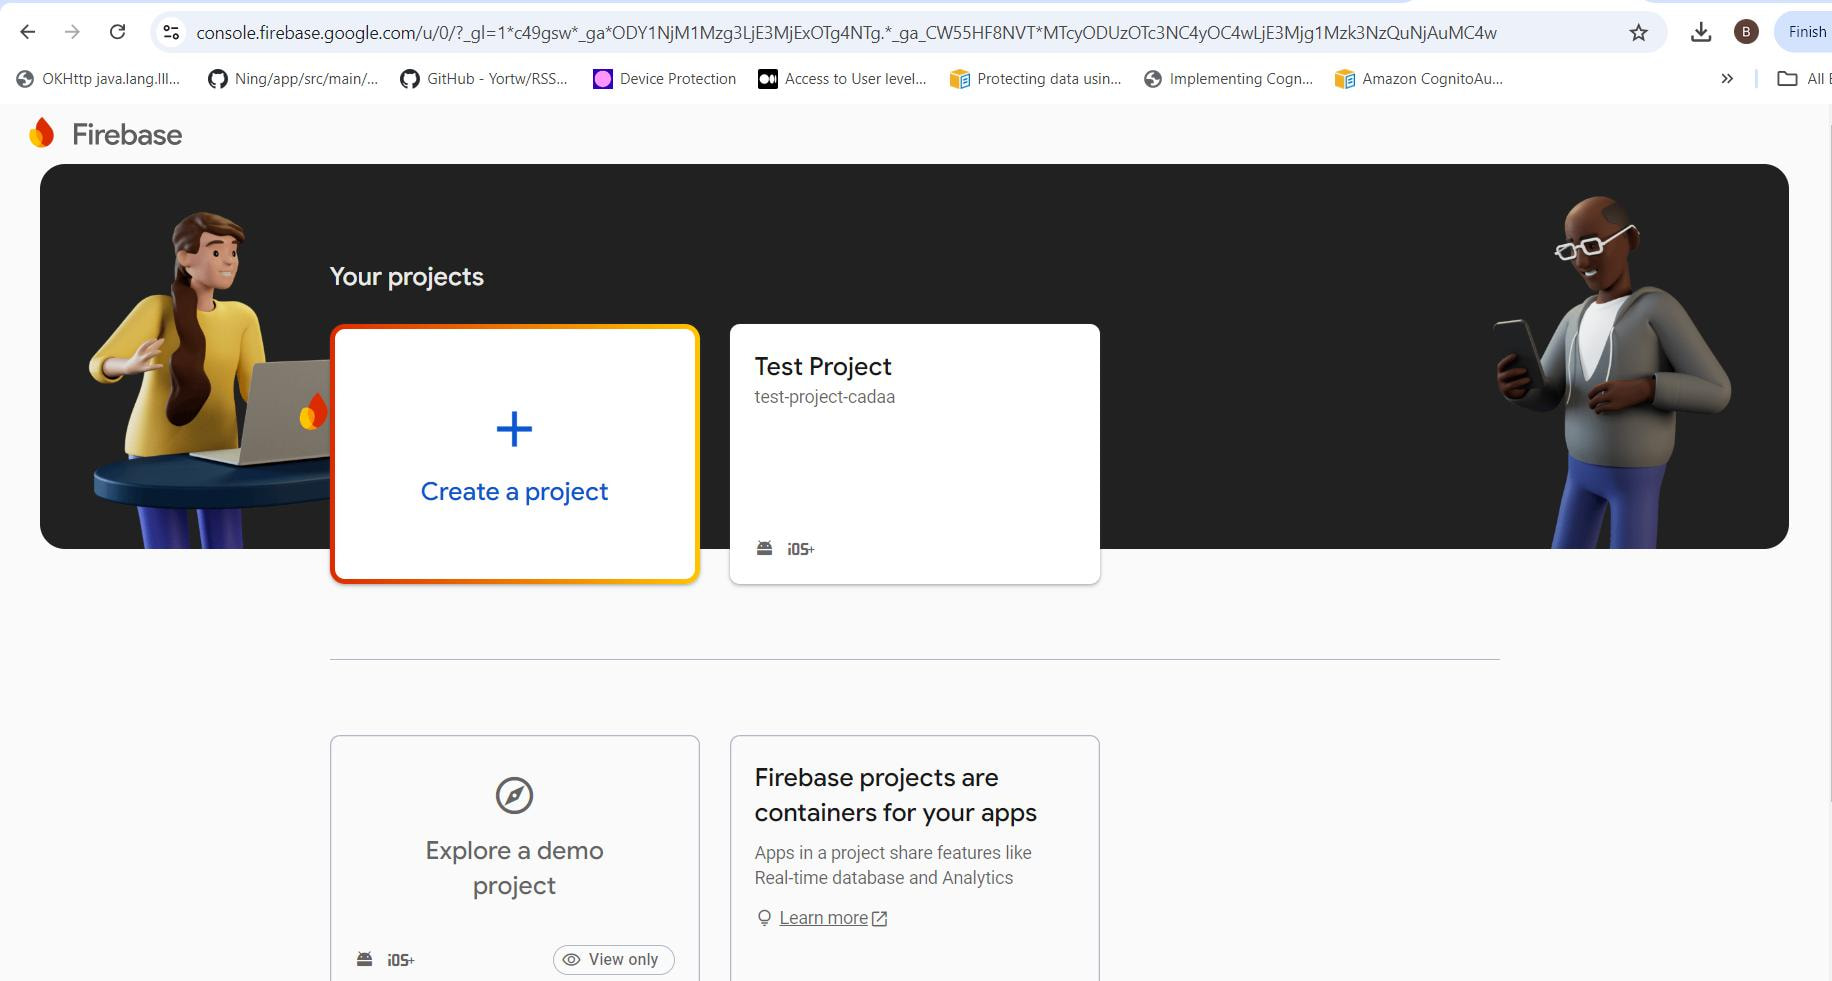
Step 1: Create a Firebase project
Go to Firebase Console and click Create a project.
-
Open Firebase Console.
-
Click Create a project.
-
Enter a project name.
-
Continue through the setup wizard.
Step 2: Add your app to Firebase
Choose the platform used by your low-code tool (Android, iOS, or Web).
For Android:
-
Enter Package Name (for example:
com.example.app). -
Download google-services.json.
For iOS:
-
Enter Bundle ID.
-
Download GoogleService-Info.plist.
For Web:
- Firebase provides a Web App configuration.
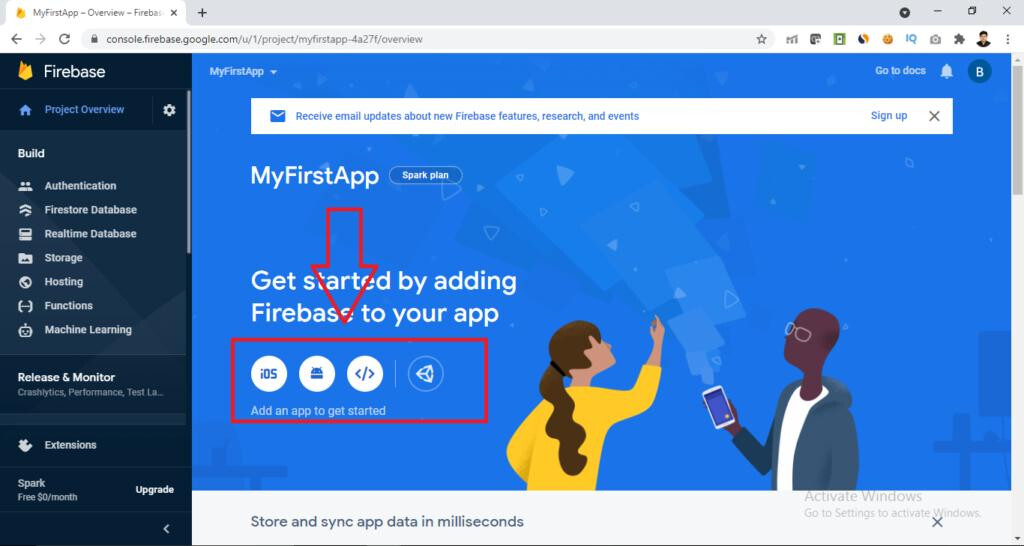
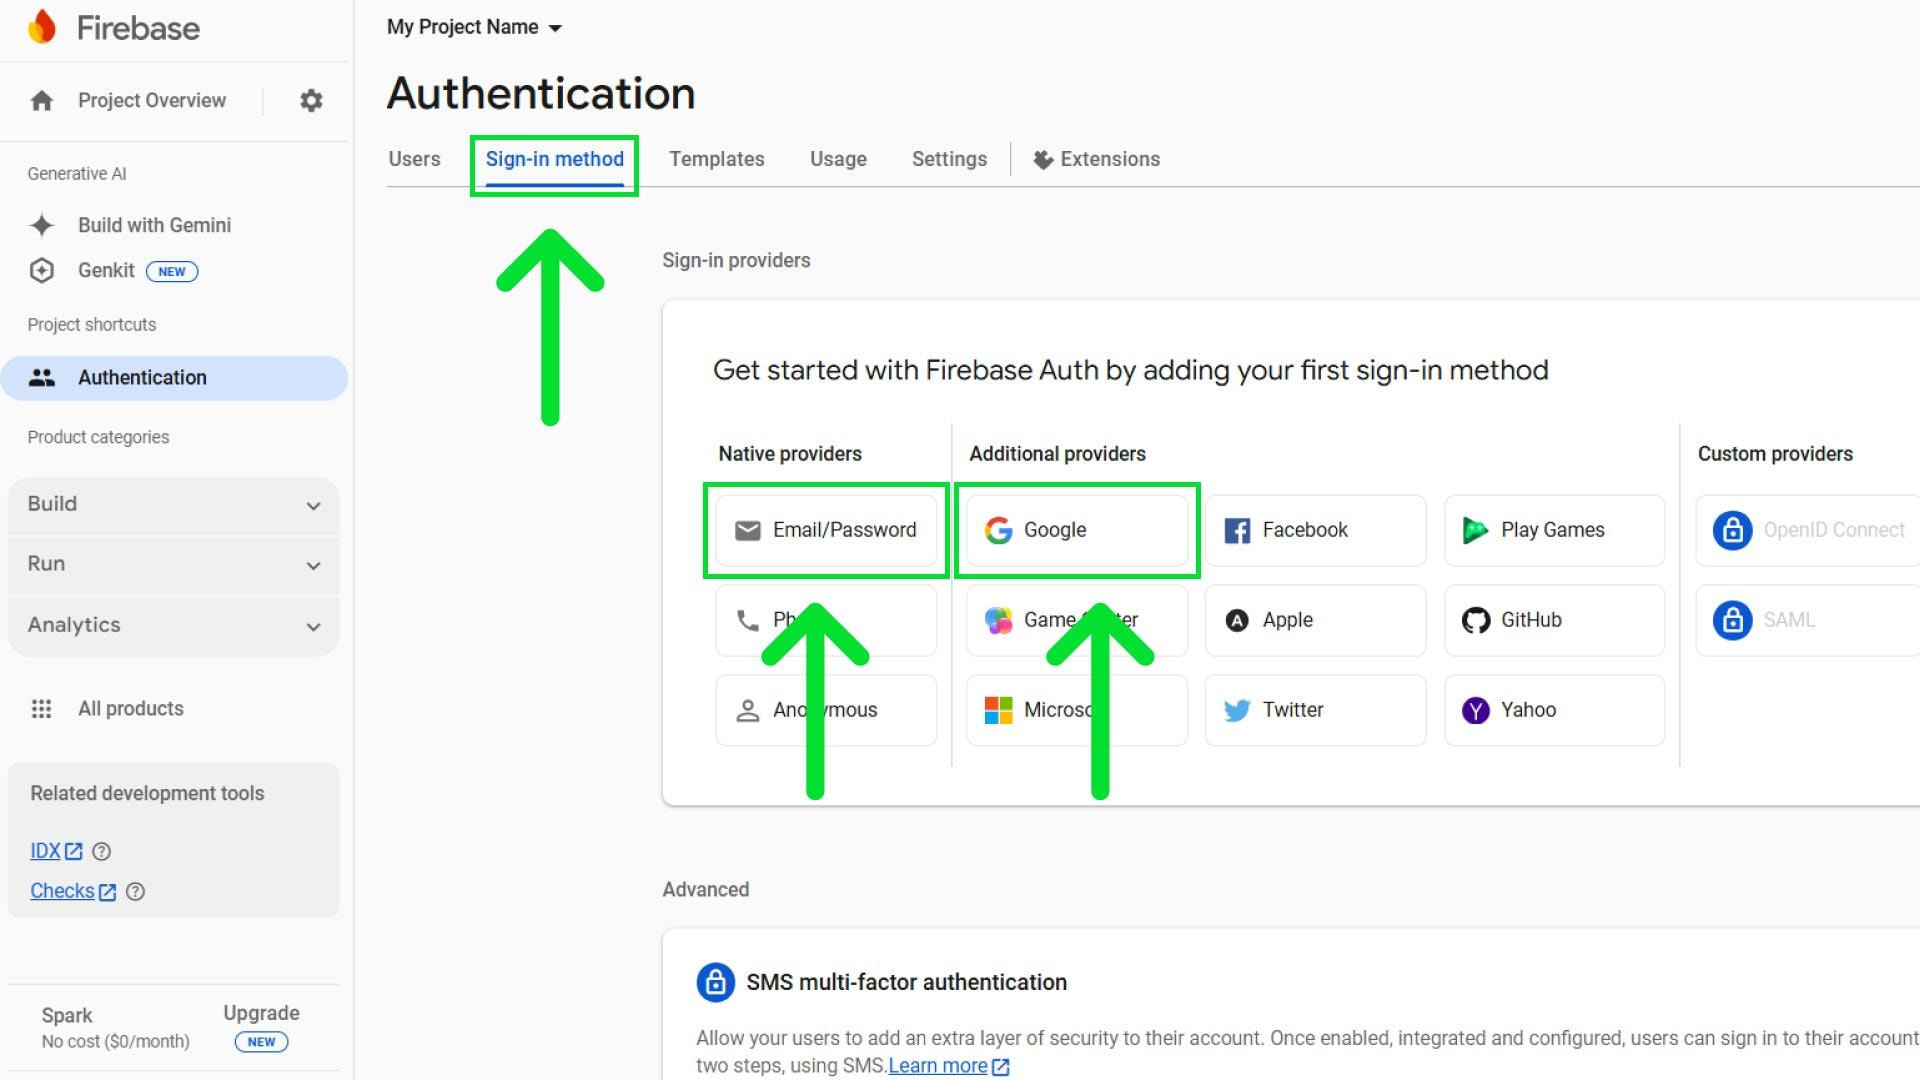
Step 3: Enable Authentication
In Firebase Console:
Build → Authentication → Get started
-
Open Authentication.
-
Click Get started.
-
Open the Sign-in method tab.
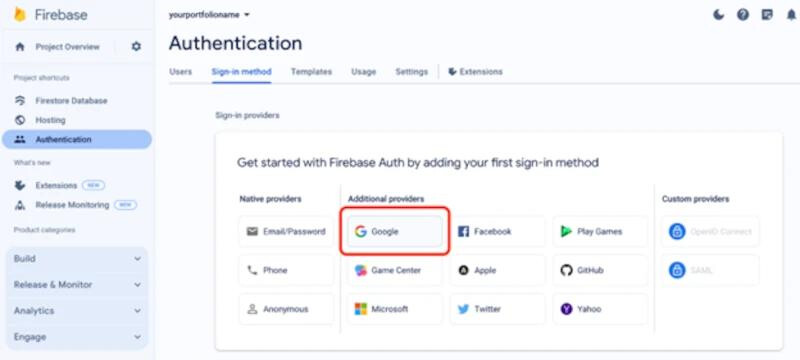
Step 4: Enable Google provider
Click Google and enable it.
-
Toggle Enable.
-
Choose a Project support email.
-
Click Save.
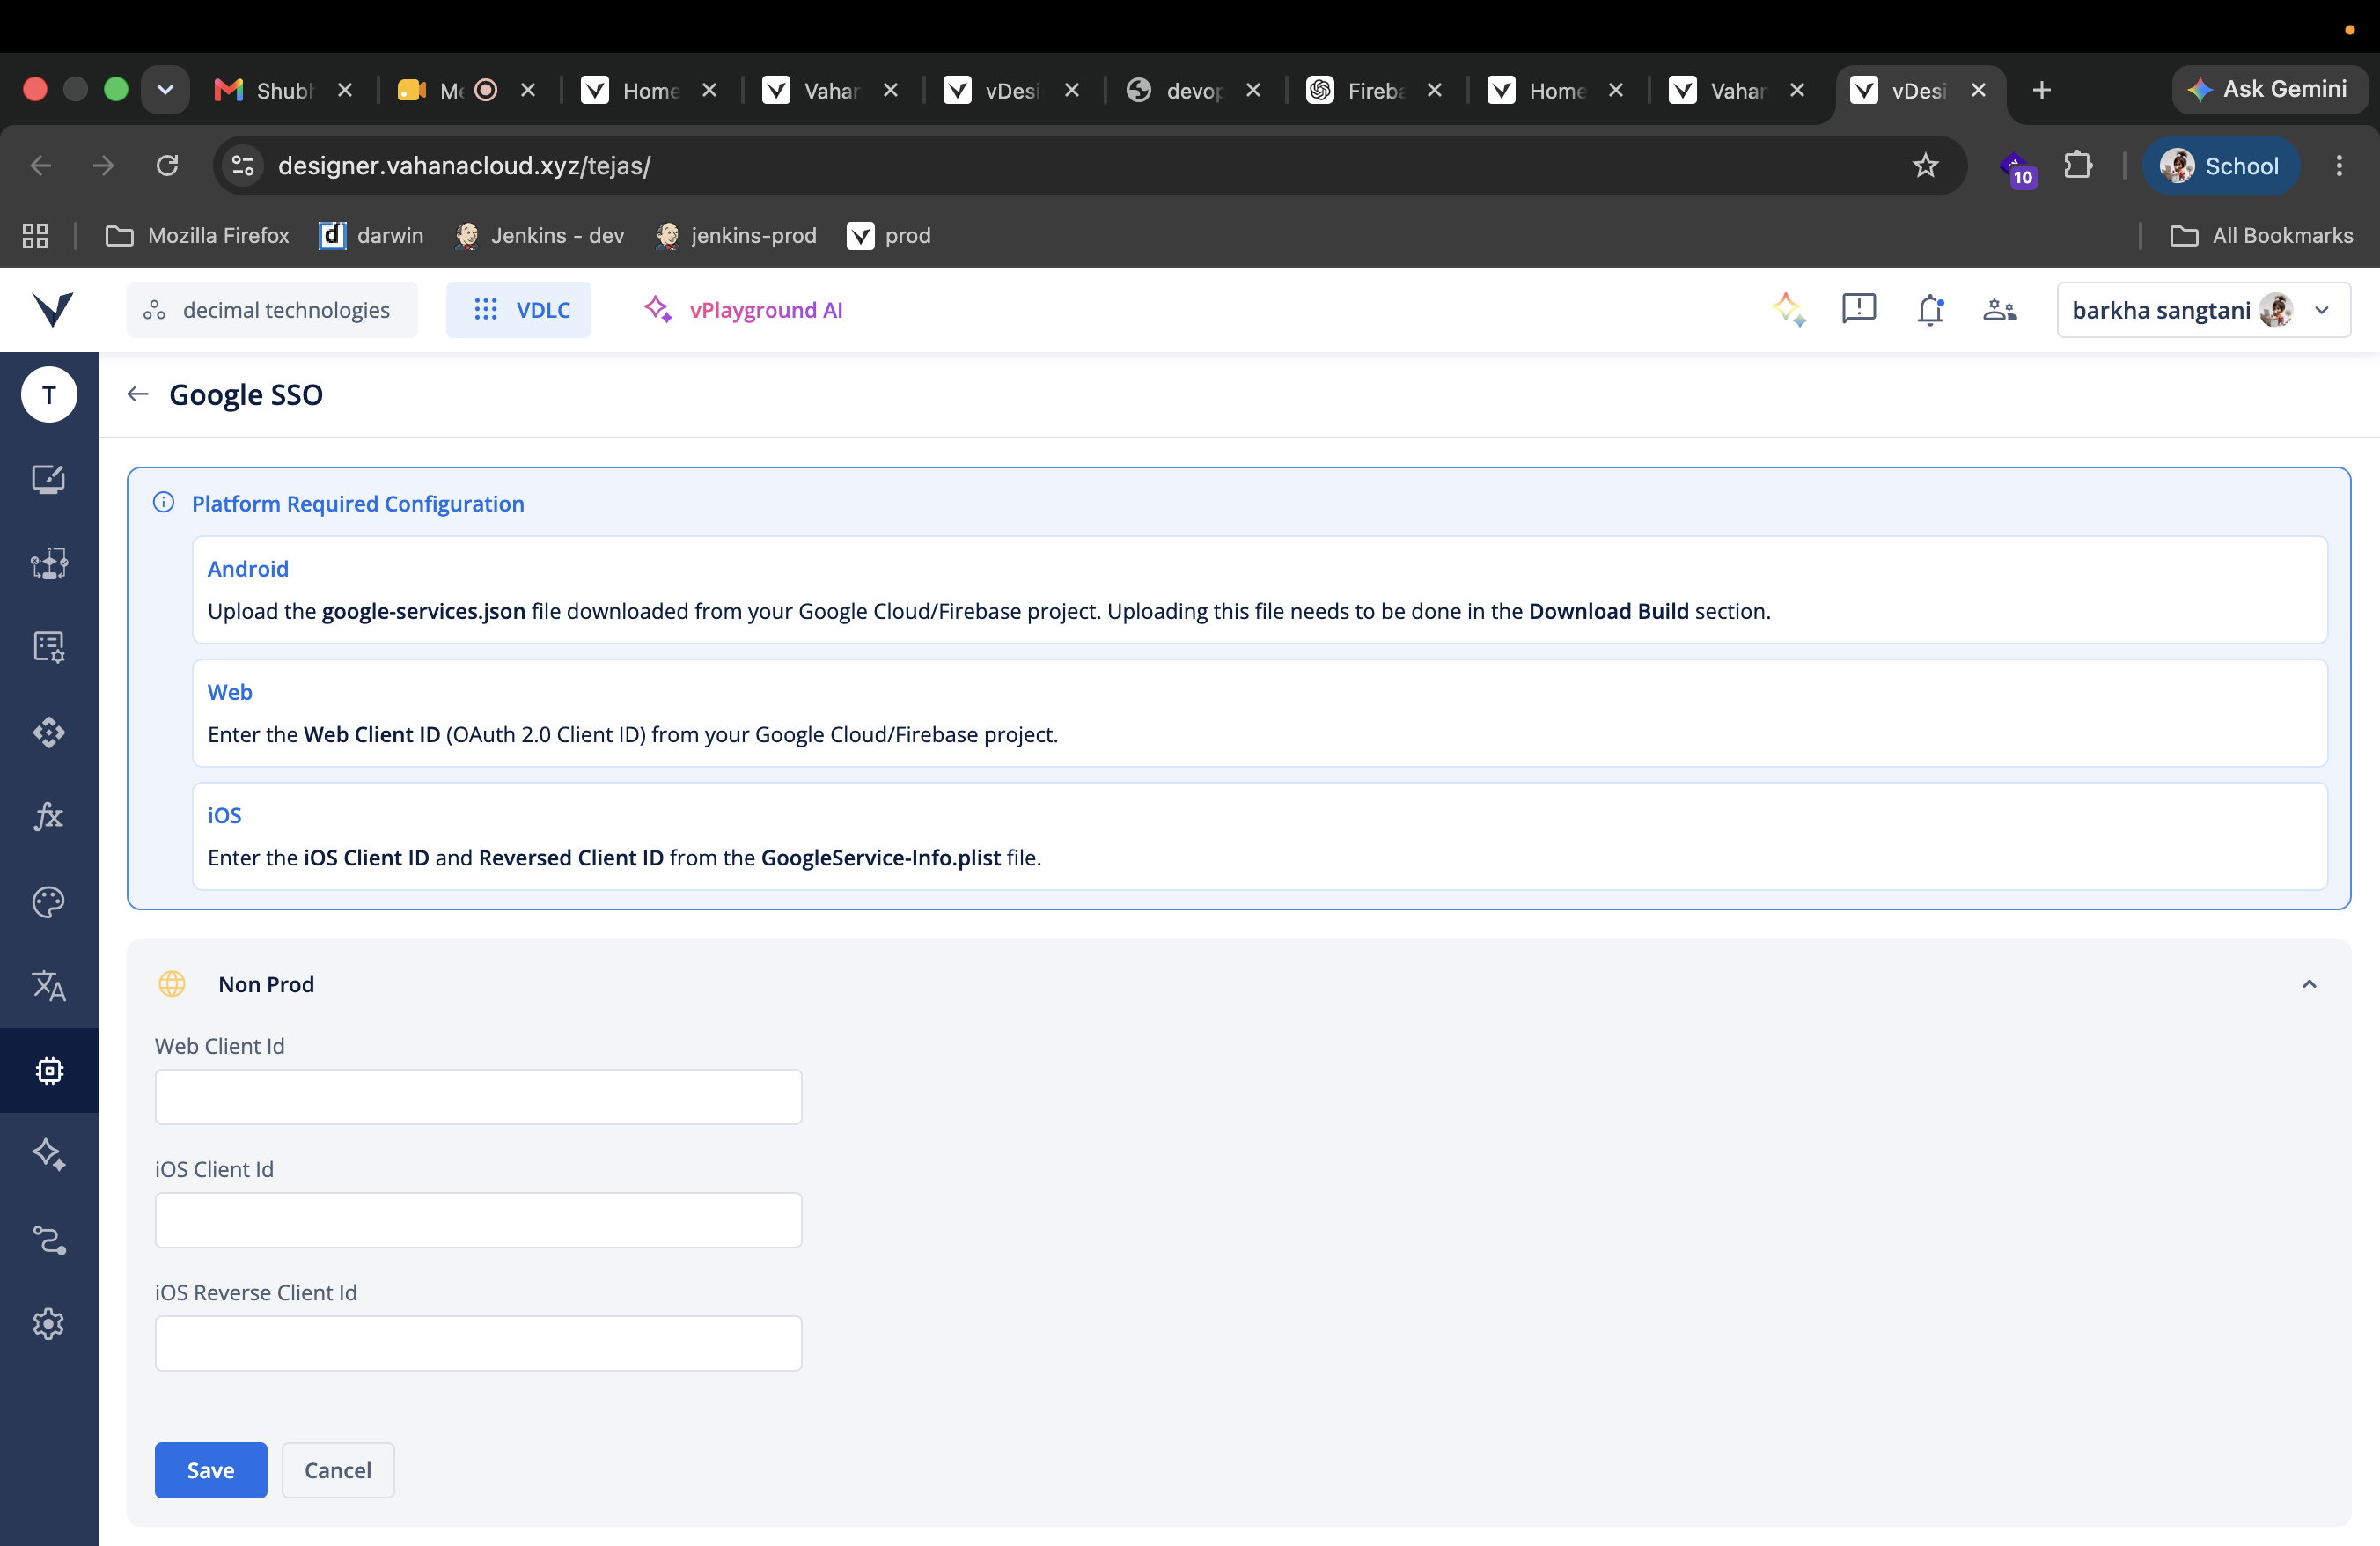
Step 5: Go inside the Integration module in the designer
Register Google SSO Library and Configure Keys
Before enabling Google Sign-In, register the Google SSO library and provide the required OAuth credentials.
Google SSO Registration Form
Web Client ID
(Enter the Web OAuth 2.0 Client ID from Google Cloud Console)
iOS Client ID
(Enter the iOS OAuth 2.0 Client ID if iOS support is required)
iOSReverse Client ID
(Example: com.googleusercontent.apps.1234567890-abcdefg123456)
Upload google-service.json file on Download settings page