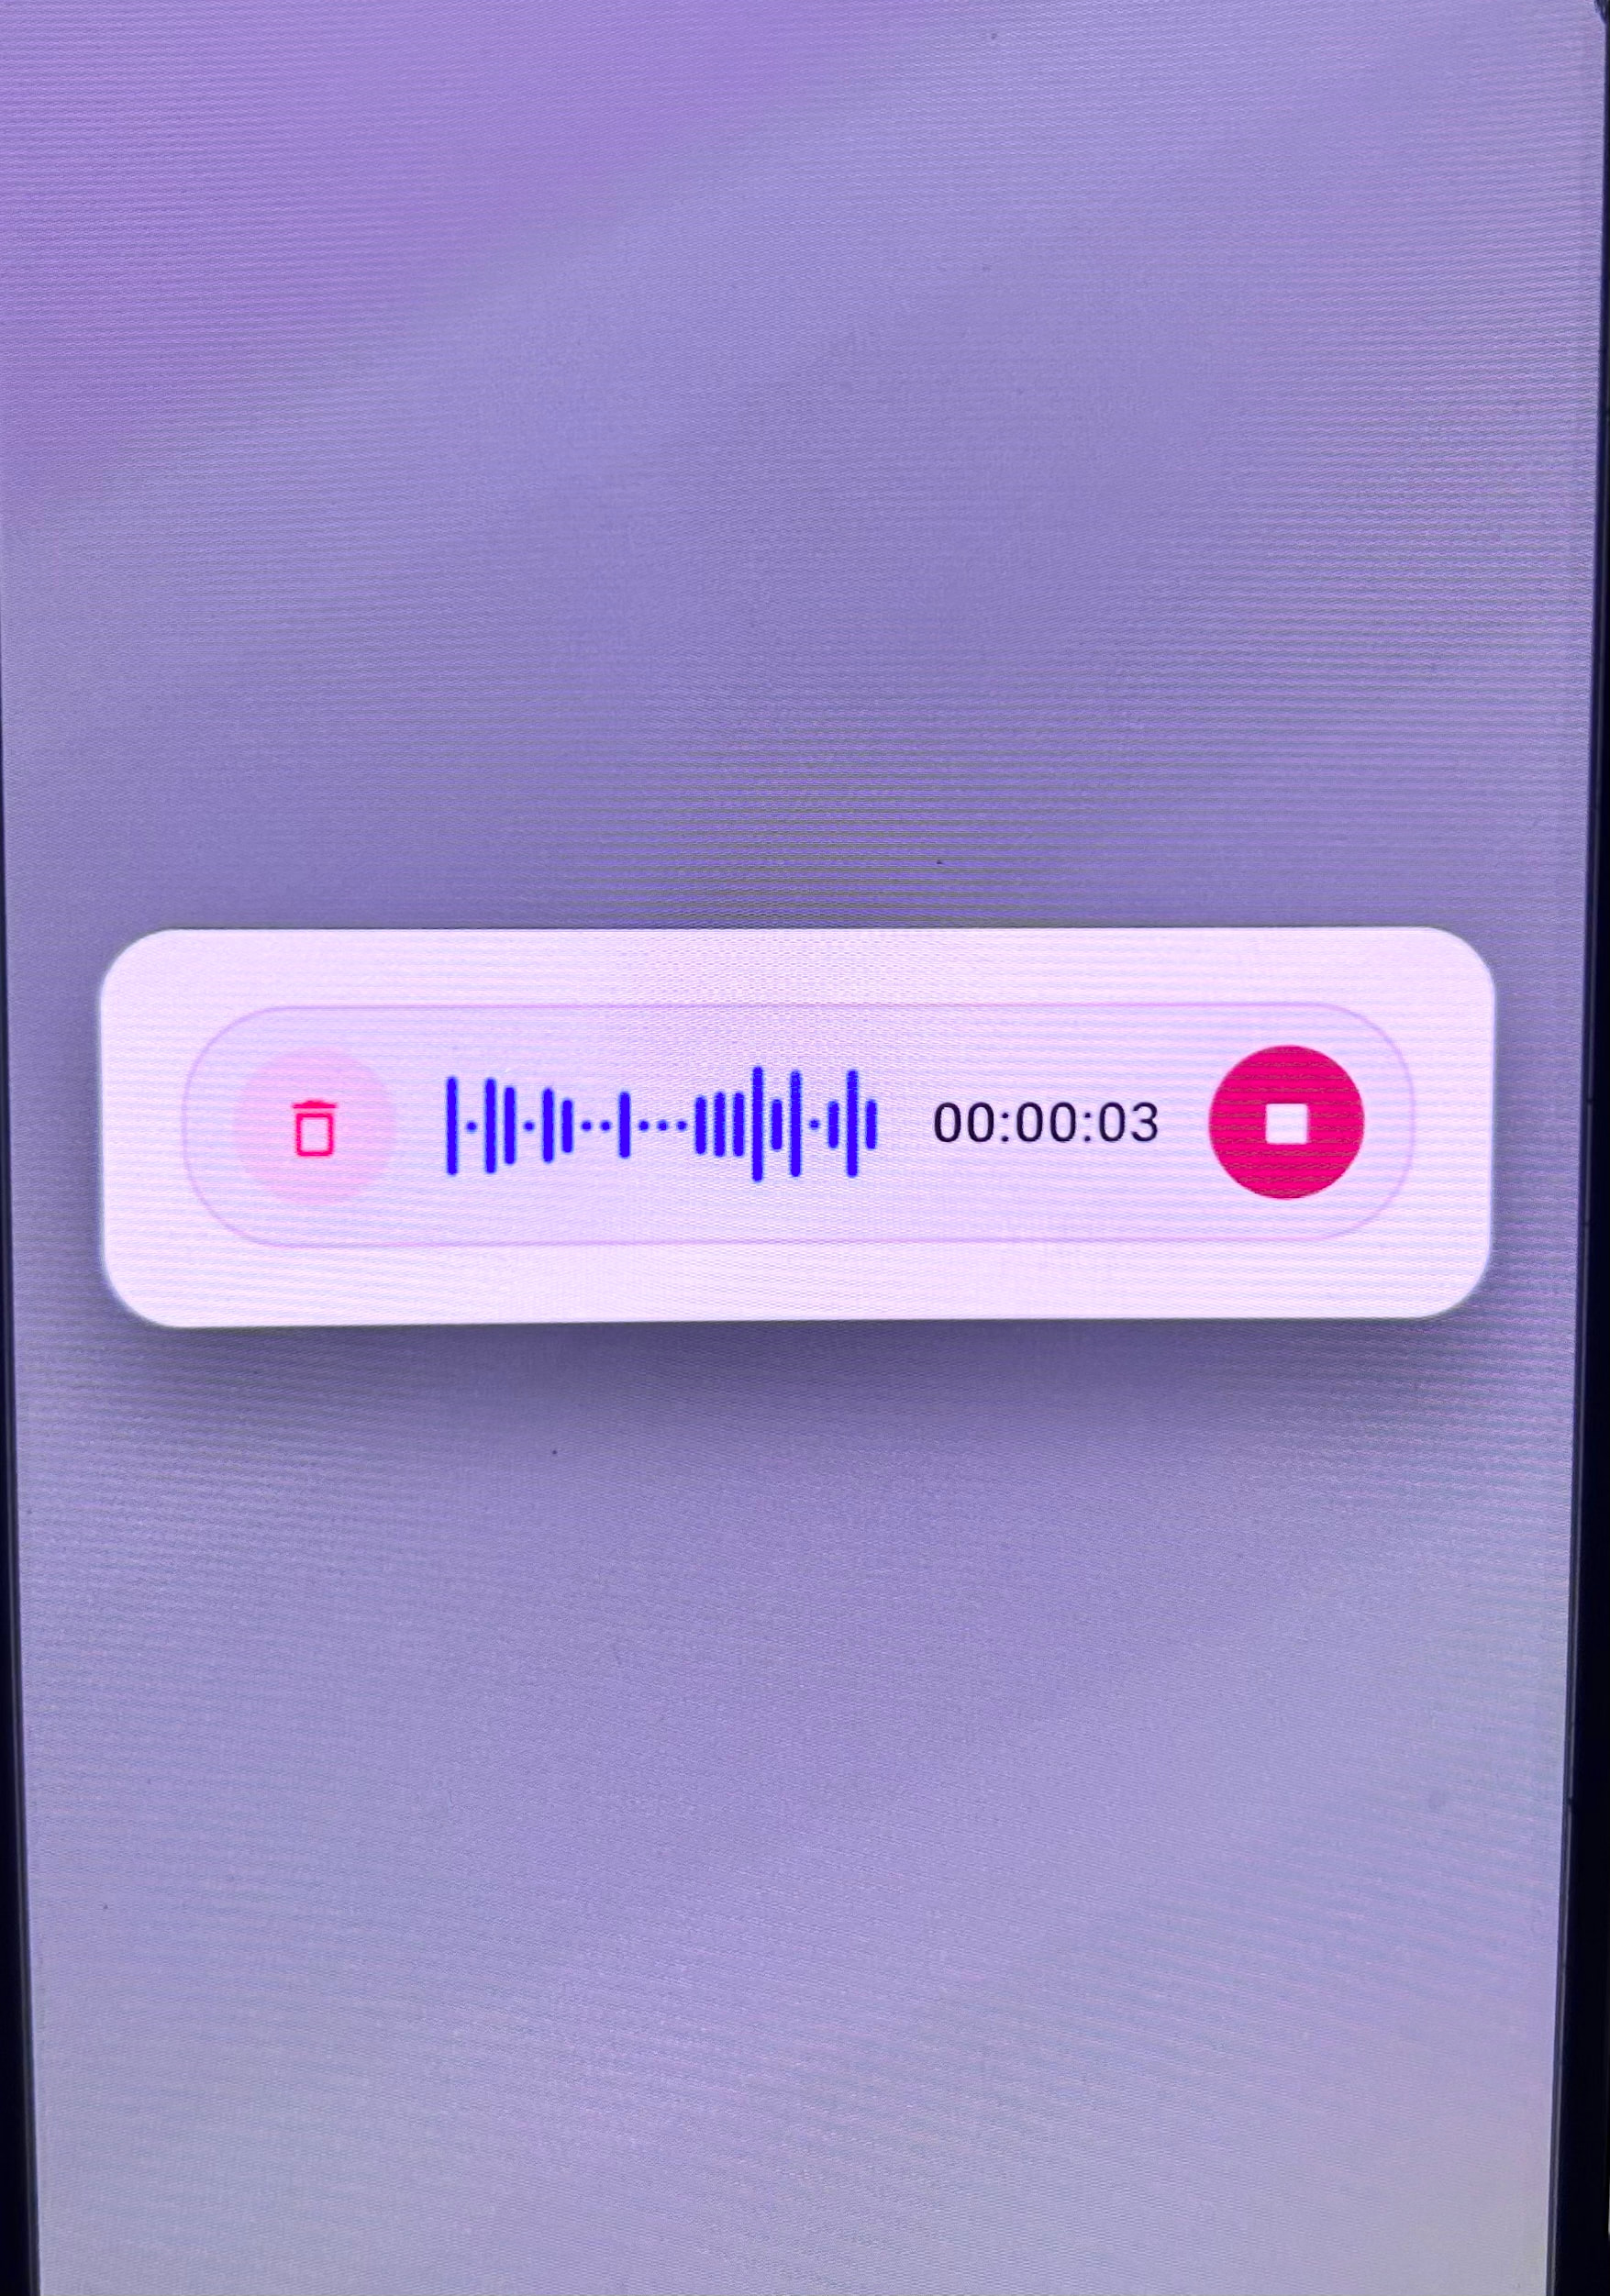
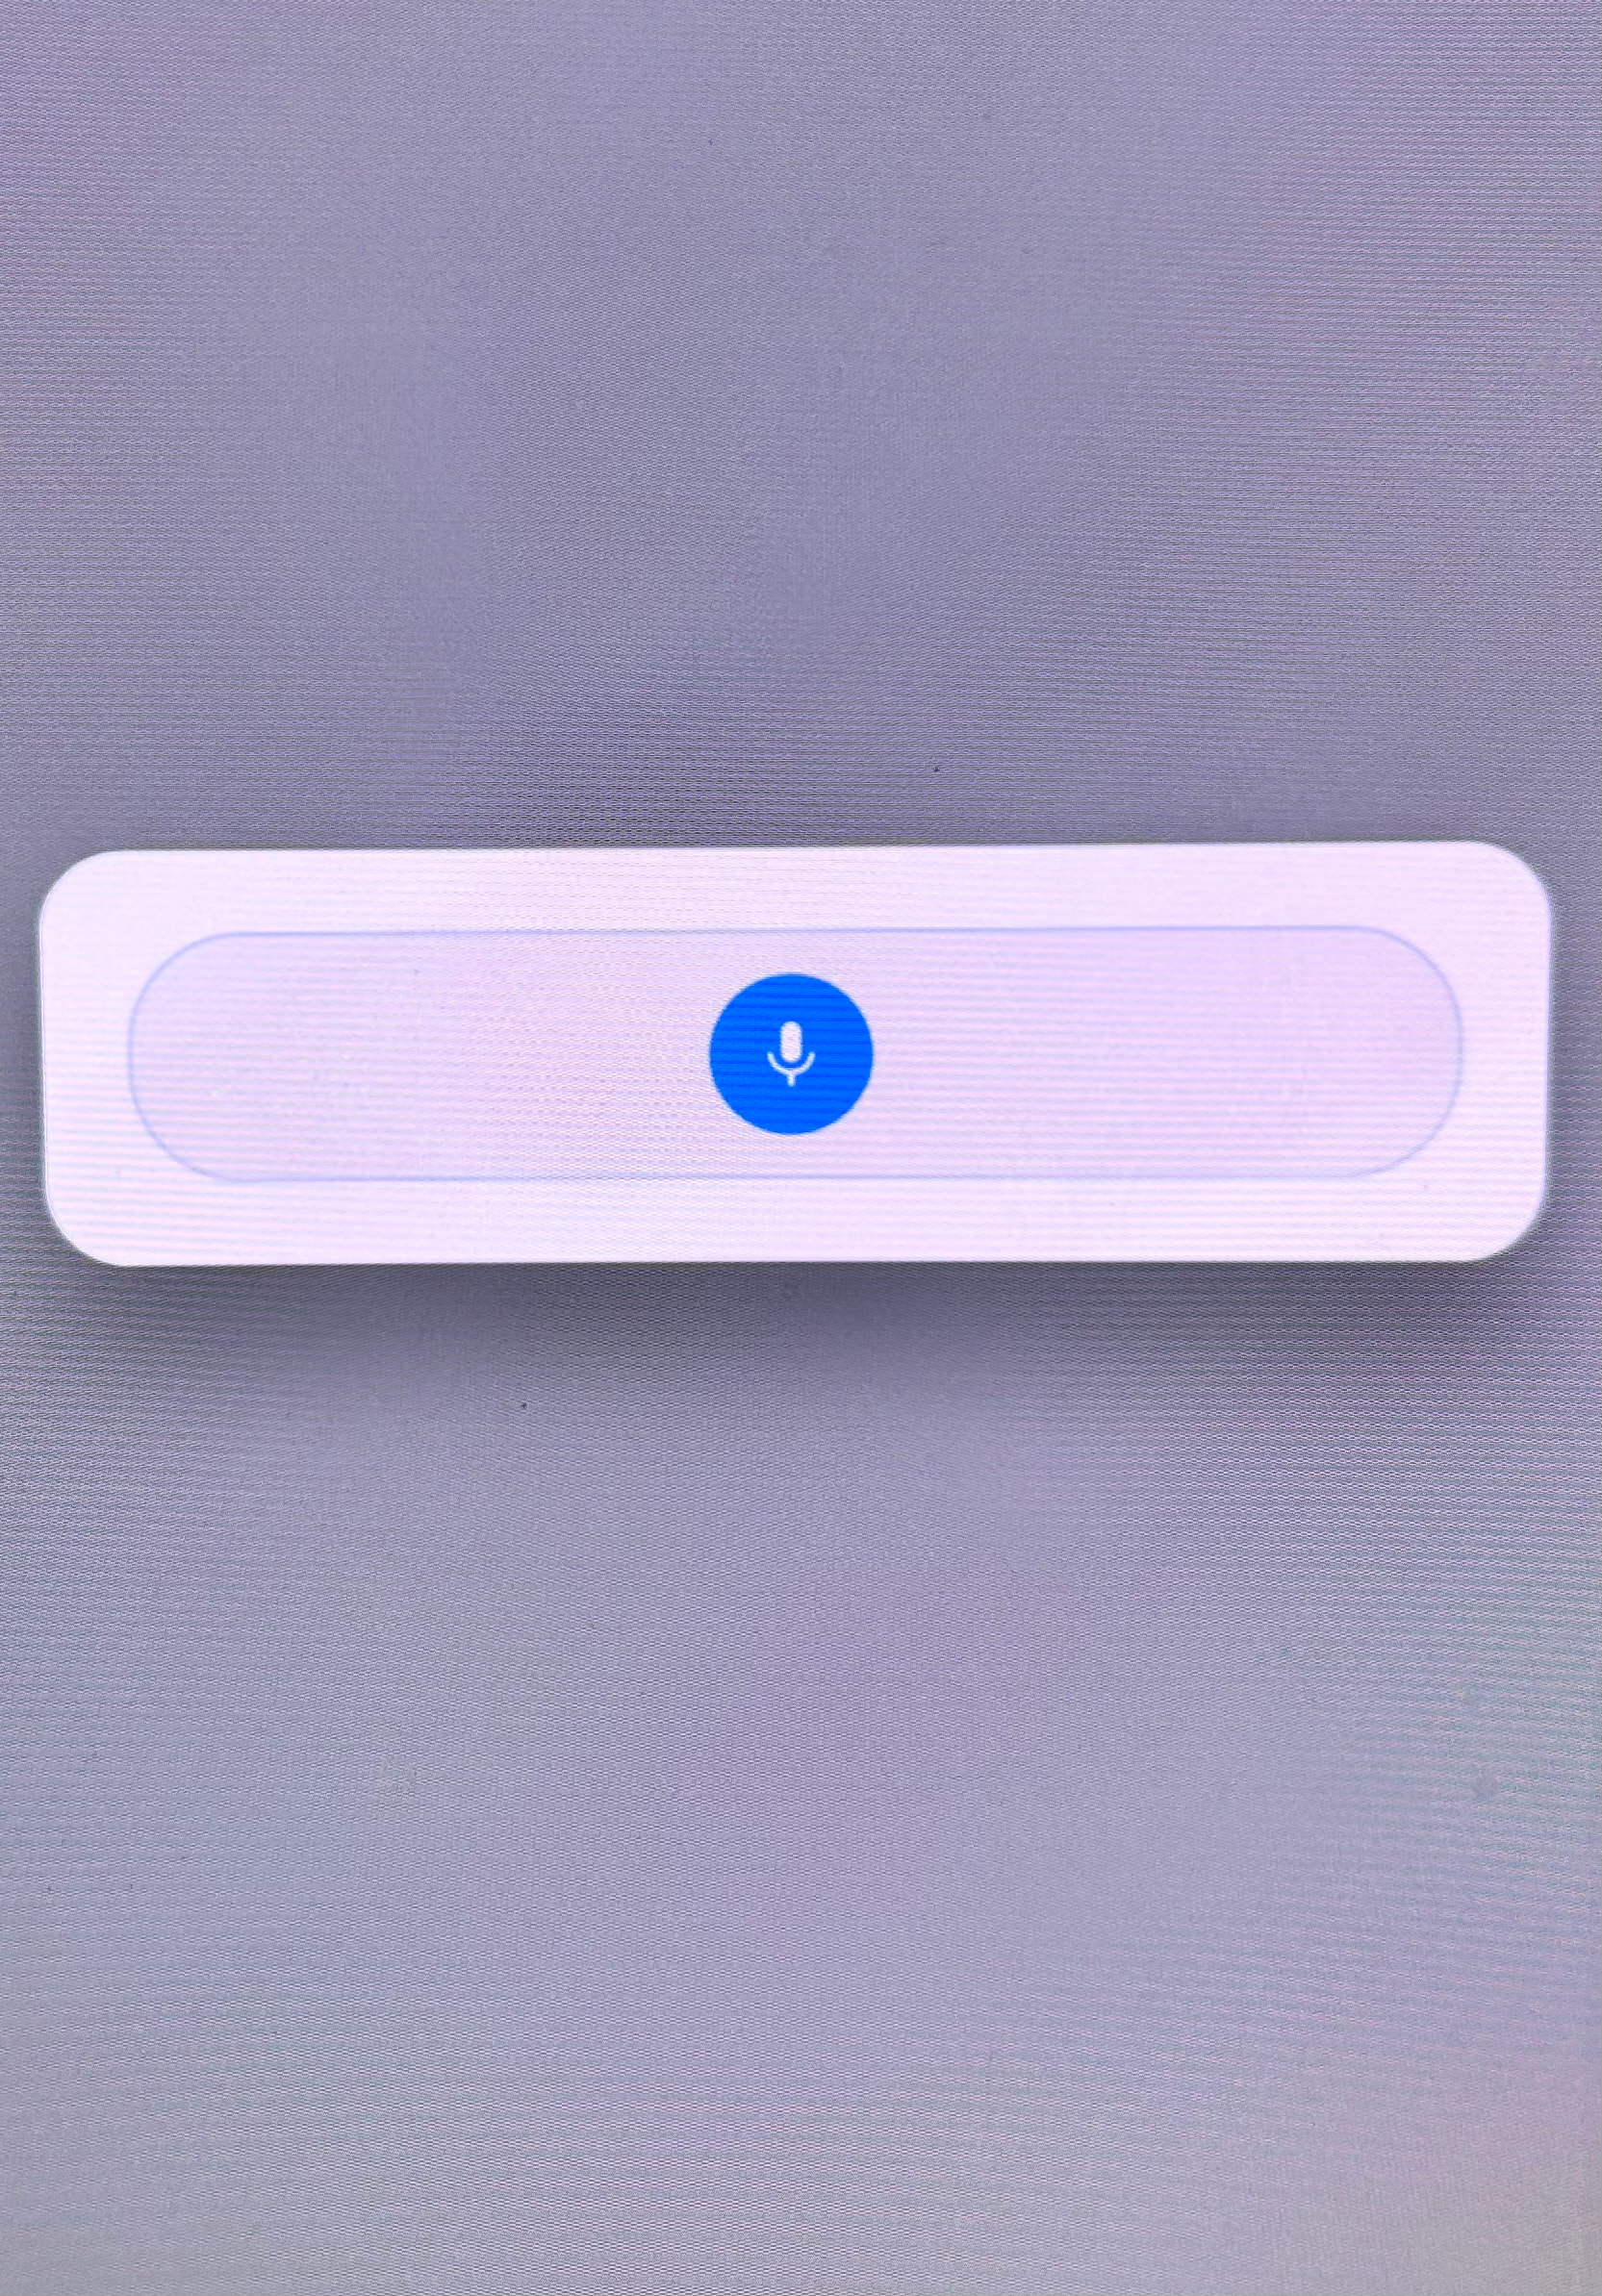
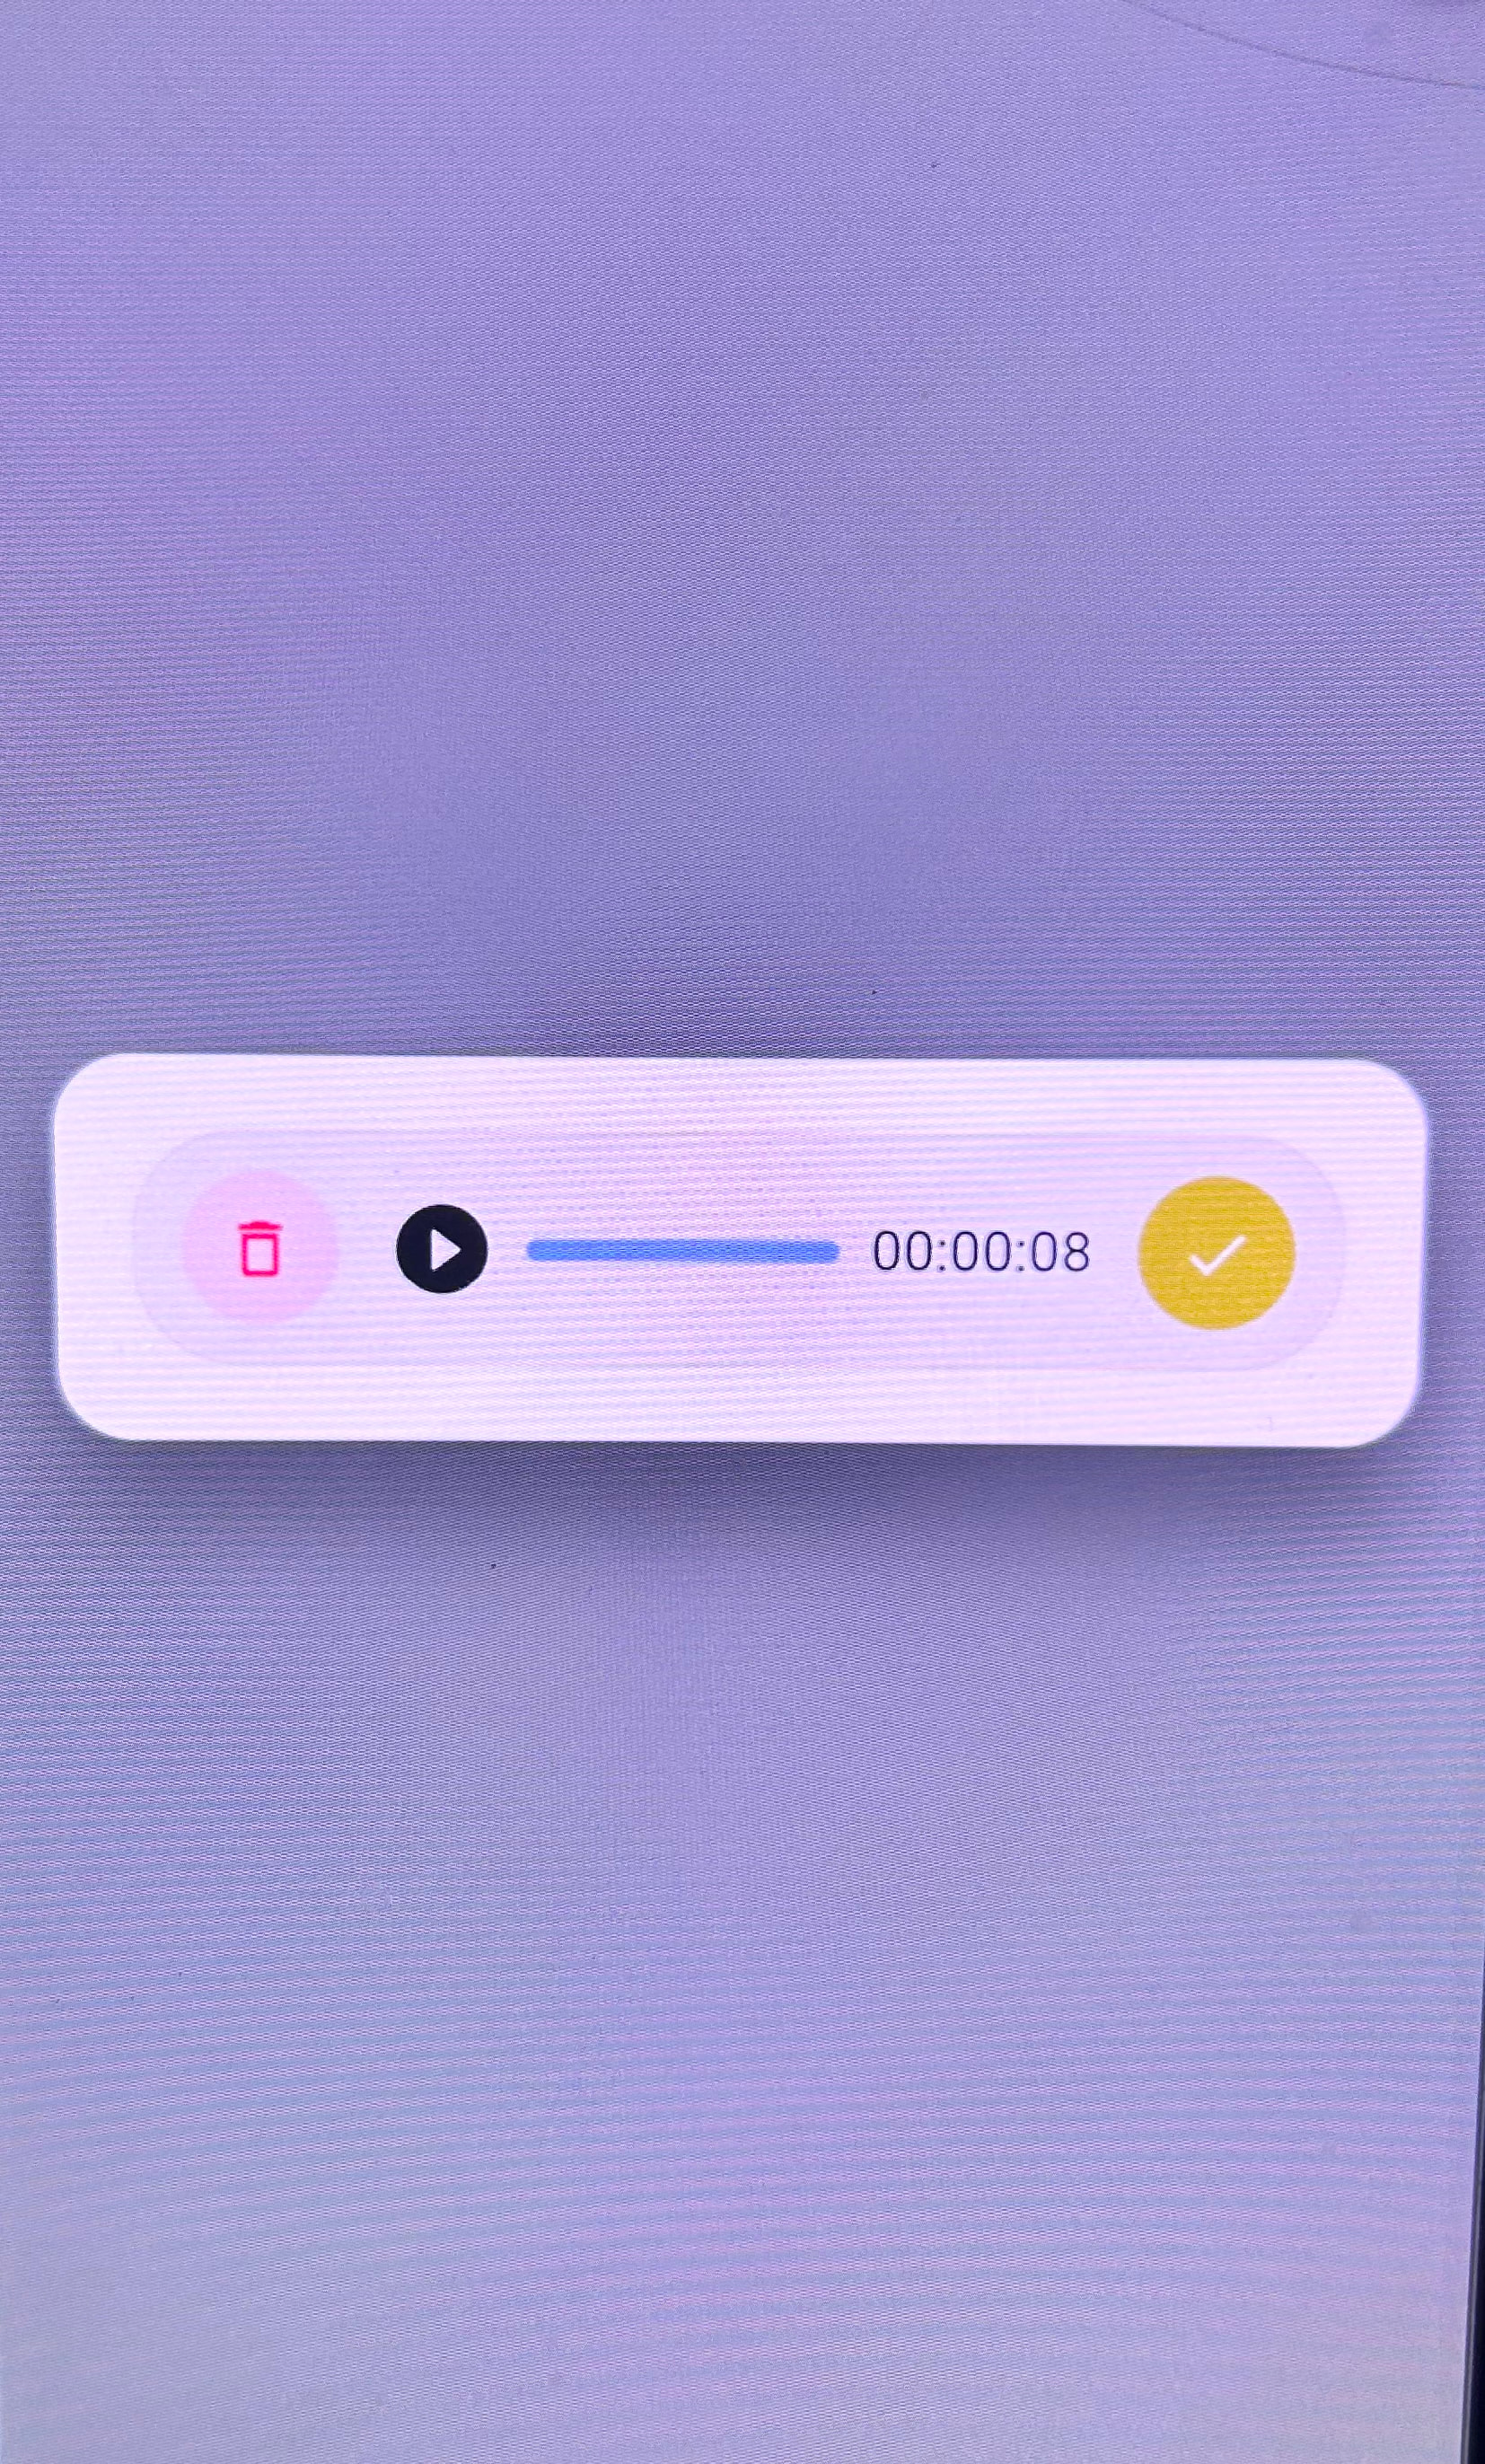
We are excited to introduce the Audio Recorder Task in VDesigner 2.0, enabling seamless audio capture and storage directly within your applications.
 How to Integrate Audio Recorder in Your Application
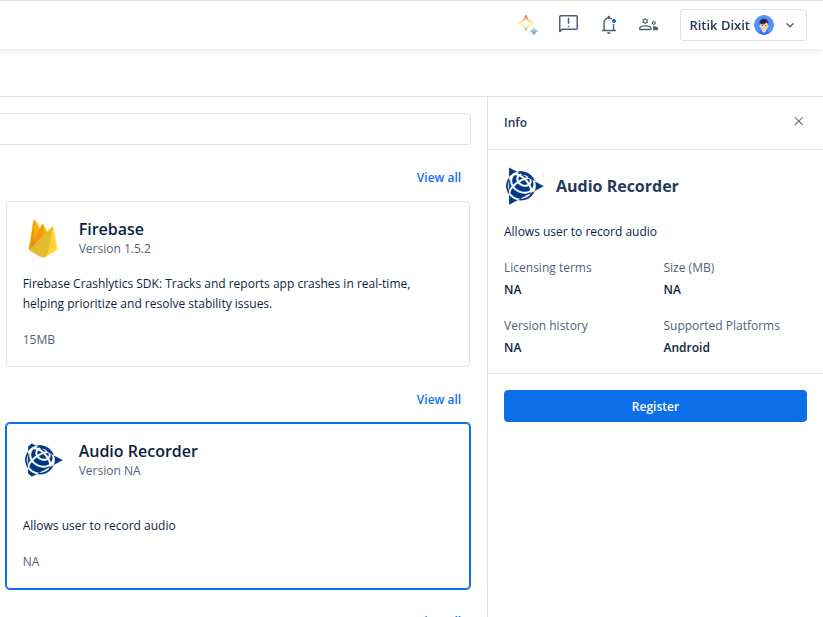
 Step 1: Register the SDK
-
Navigate to the Application tab.
-
Register the Audio Recorder SDK in your application.
Step 2: Add the Component
- Drag and drop the desired element onto your canvas where audio recording functionality is required.
Step 3: Configure the Task
- Open the Task List .
- Search for Audio Recorder and add it to the element.
Step 4: Configure Required Parameters
Provide the following details:
-
Document ID (Doc ID)
-
Document Bundle ID
-
Primary Keys
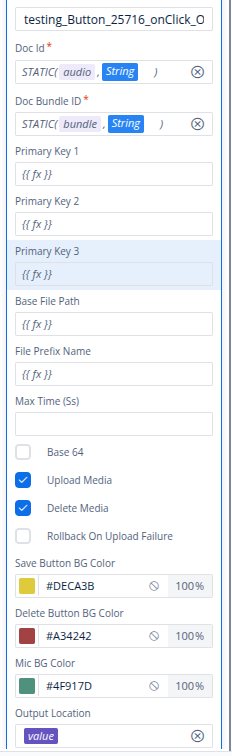
These parameters help identify and fetch the recorded audio data.
Step 5: Optional S3 Upload
If you want to upload recordings to S3:
- Enable Upload Media
- Configure the appropriate Storage ID
Step 6: Customize the Experience
You can configure:
- Save Button
- Delete Button
- Microphone Background Color
This gives complete control over the user experience and application branding.
 Response Output Format
The Audio Recorder task stores responses in a structured JSON format containing details such as:
- DMS ID
- File Name
- File Path
- File Creation Time
- Document ID
- File Type
- Audio Duration
- File Store Information
This makes it easy to integrate with workflows, storage services, and backend processing.
 Key Benefits
 Easy integration with low-code development
S3 upload capability
Customizable UI controls
Structured response output for further processing
Seamless integration with existing VDesigner workflows
Save the task configuration and you’re ready to start recording audio directly from your application.
Check out the screenshots below to see it in action!