Can we design more than one plus group?
2 Likes
You can design more than one plus group if you want to consolidate features module-wise. Commonly plus group includes most frequently used features that the user can easily access by expanding the menu bar of plus group.
To configure the plus group:
1.On the vDesigner dashboard, see the left navigation panel.
2.In the left panel, click Module to expand the panel.
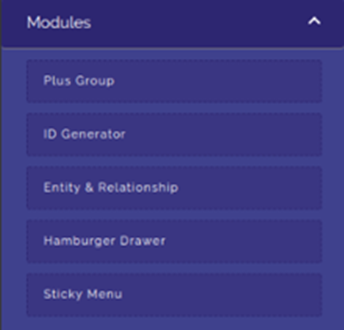
3.Under Module, click Plus Group, and the Plus Group dialog box opens.
Note: By default, vDesigner provides you a plus group with the title/name:
PLUSGROUP_HOME. You can decisively perform any of two tasks. Either you can use the in-built plus group and add new feature to it, or you can create a new plus group and then add features to it.
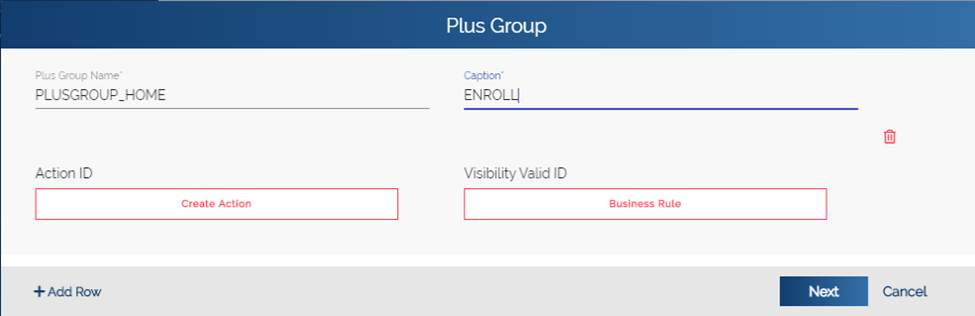
4.In the Plus Group dialog box, add new features/menus as described in the following steps:
5.To add new features/menus in the plus group, perform the function as follows:
- Plus Group Name:In this field, you can perform any of the following functions:
Case1:-(If you want to use the existing plus group)
If you want to use the existing plus group, do not enter any value in this box. Let it be the name of existing plus group:PLUSGROUP_HOME .
Case2:-(If you want to create a new plus group) To create a new plus group, enter the name of new plus group (For example: –PLUSGROUP_INSURANCESCHEME ).
-
Caption:In the box, enter the name of feature or menu (For example: – Enroll) that you want to add to the plus group.
-
Action ID:In the Plus Group dialog box, this function is used to assign an action to the feature/menu. The action is assigned to the feature/menu based on the functional requirement of the respective menu.
To assign the action to a plus group item, visit the heading section: Assigning Action to Plus Group .
6.After you enter the details of first plus group item as described in the last table,click Add Row ,to add more plusgroups if required and follow the same steps as said above to create new plusgroup.
- After you add all plus group items, click Next, and the Plus Group dialog box displays the details of all added plus group items.
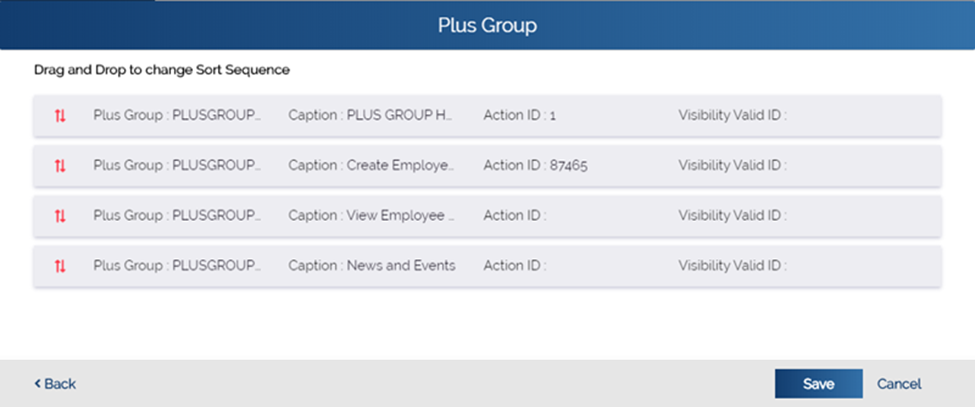
- After you ensure that you have added and configured all plus group items, click Save to successfully configure the plus group.
4 Likes