How to use Date Element in vDesigner 1.0?
1 Like
You can refer the documentation on below link:
https://academy.vahanacloud.com/design/adding-date-element/
To add a date control/element:
- On the left navigation pane, click Standard, and the Standard menu expands.
- Under Standard, scroll down and locate the Date element.
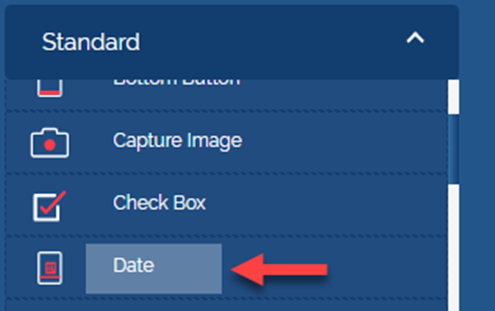
- Click the Date element, and the Please Provide Date dialog box opens.
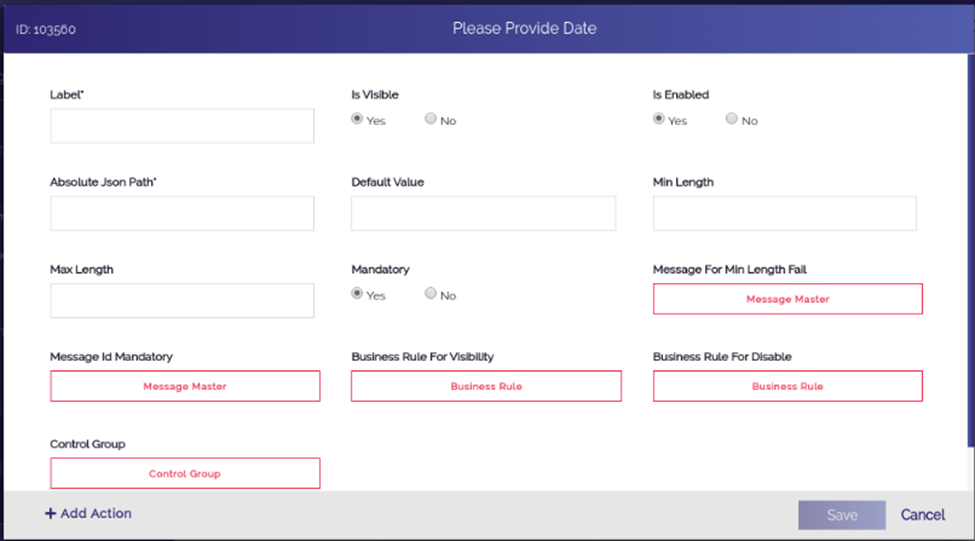
- In the Please Provide Date dialog box, enter values in the boxes as follows:
| Box | Description |
|---|---|
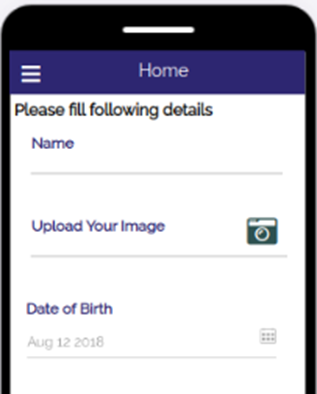
| Label | In this box, enter the label name (For example: – Date of Birth) of the Date element. |
| Is Visible | Click Yes if you want to make the element visible after the respective form is displayed. |
| Is Enable | Click Yes if you want to make the element as active element. In the active element, the user can enter the value. |
| Absolute Json Path | In this box, enter the absolute json path as follows: $.POD.DOB |
In the $.POD.DOB element, the DOB variable stores the value of the Date of Birth element.|
|Min Length|In this box, enter value: CD0-100Y. The value: CD0-100Y specifies that you can select the date for the last hundred years in the digital calendar.|
|Max Length|In this box, enter value: CD0. The value: CD0 specifies that you can select the date up to current date in the digital calendar.|
|Mandatory|Click Yes to make this element as the mandatory field/element.|
|Message For Min Length Fall|This feature is used to configure the message after the user selects the wrong date.
To configure the message:
- Click Message Master, and the Message Master dialog box opens.
- In the Message Master dialog box, click the Message Type list and then select E to add error message.
- After you select the message type, click the Description box.
- In the Description box, enter the text of message (For example: – Please enter correct date.)
- After you enter the text/description of the message, click Add Message, and the message is successfully configured.|
|Message ID Mandatory|This feature is used to configure the message if the user forgets to enter the date.
To configure the message:
-
Click Message Master, and the Message Master dialog box opens.
-
In the Message Master dialog box, click the Message Type list and then select E to add error message.
-
After you select the message type, click the Description box.
-
In the Description box, enter the text of message (For example: – Please enter the date.)
-
After you enter the text/description of the message, click Add Message, and the message is successfully configured.|
-
After you enter values in the respective boxes, click Save, and the Date element is successfully configured.
2 Likes